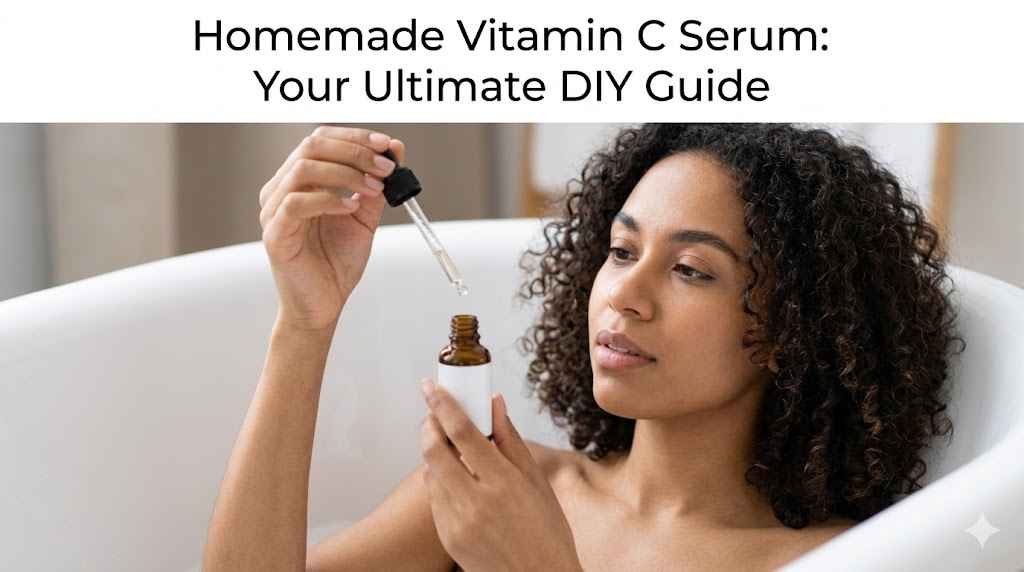
Did you know that Vitamin C is one of the most loved ingredients in skincare, known for its ability to brighten skin and reduce signs of aging? While store-bought serums can be effective, they often come with a hefty price tag and unnecessary additives. So why not take matters into your own hands and create a homemade vitamin c serum? With just a few simple ingredients and steps, you can enjoy radiant, youthful skin without breaking the bank.
A Vitamin C serum is a concentrated skincare product that delivers powerful antioxidants to your skin, helping to fight free radicals, boost collagen production, and improve overall skin tone. This article will guide you through everything you need to know about making your own homemade vitamin c serum, from its benefits to a step-by-step recipe. Let’s dive in!
What is Vitamin C Serum and Why Does Your Skin Love It?
Overview of Vitamin C
Vitamin C, or ascorbic acid, is a potent antioxidant that plays a critical role in skin health. It fights free radicals caused by environmental stressors like UV rays and pollution, which can lead to premature aging. Furthermore, Vitamin C stimulates collagen production, an essential protein for maintaining skin elasticity and firmness.
Skin Benefits of Vitamin C
Using a homemade vitamin c serum can provide numerous skincare benefits:
- Brightens Skin: Vitamin C reduces pigmentation and evens skin tone, giving you a radiant glow.
- Reduces Fine Lines and Wrinkles: Its collagen-boosting properties smooth out wrinkles and improve skin texture.
- Protects Against UV Damage: While not a sunscreen, Vitamin C shields skin from free radicals caused by sun exposure.
- Fades Dark Spots: It lightens hyperpigmentation and acne scars over time.
Why Make Your Own Homemade Vitamin C Serum?
Cost-Effectiveness
Store-bought Vitamin C serums can cost anywhere from $30 to $150 per bottle. However, creating a homemade vitamin c serum costs just a fraction of that, often less than $5 per batch.
Control Over Ingredients
Making your own serum allows you to use high-quality, natural ingredients without unnecessary fillers, preservatives, or artificial fragrances.
Customization
Whether your skin is dry, oily, or sensitive, you can adjust the concentration and ingredients in your homemade vitamin c serum to suit your specific needs.
Eco-Friendliness
By creating your own serum, you reduce packaging waste and contribute to a more sustainable skincare routine.
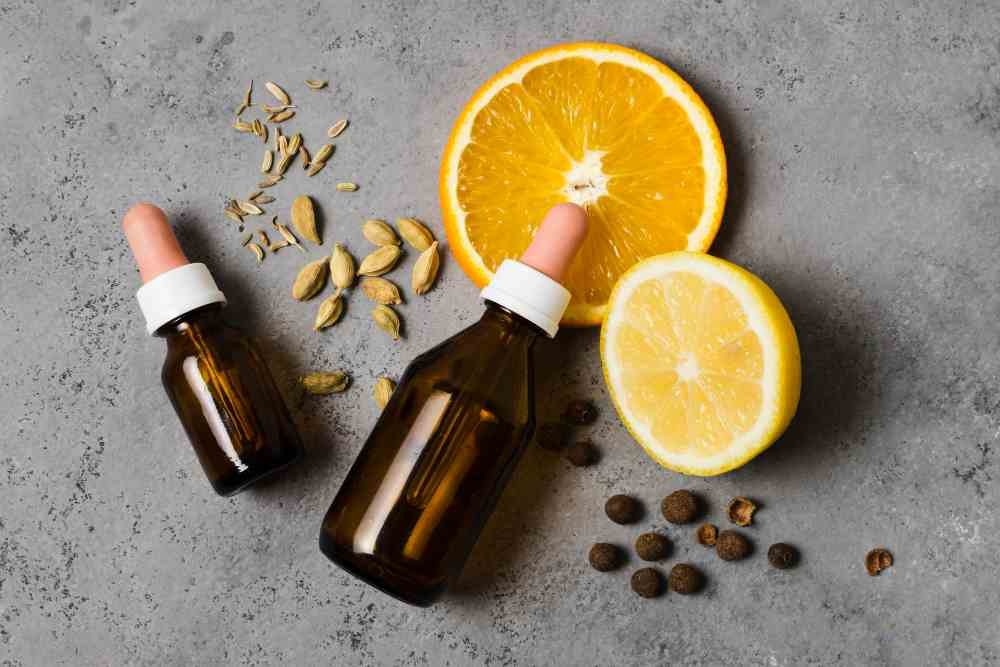
Ingredients You Need for a Homemade Vitamin C Serum
Essential Ingredients
To make a simple yet effective homemade vitamin c serum, you’ll need the following:
- L-Ascorbic Acid: This is the purest form of Vitamin C powder.
- Distilled Water or Rose Water: Acts as the base for the serum.
- Vegetable Glycerin or Aloe Vera Gel: Provides hydration and smooth application.
- Optional Add-Ons: Vitamin E oil or ferulic acid for added antioxidant benefits.
Ingredient Quality
When sourcing ingredients, look for pharmaceutical-grade L-ascorbic acid and organic, high-quality oils or gels. This ensures your serum is both safe and effective.
Step-by-Step Guide to Making Your Homemade Vitamin C Serum
Preparation
Before you start, gather the following tools: a small glass bottle, a dropper, and measuring spoons. Ensure your workspace is clean to avoid contamination.
Recipe
Ingredients:
- 1 teaspoon of L-Ascorbic Acid (Vitamin C powder)
- 1 tablespoon of distilled water
- 1 tablespoon of vegetable glycerin or aloe vera gel
- A few drops of Vitamin E oil (optional)

Instructions:
1. Dissolve the Vitamin C powder in distilled water.
2. Add glycerin or aloe vera gel and mix well.
3. Optional: Add a few drops of Vitamin E oil for extra benefits.
4. Pour the mixture into a small, dark glass bottle to protect it from light.
5. Store in the refrigerator for up to 2 weeks.
Tips for Success
Always use a non-metallic spoon for mixing to prevent oxidation. Make small batches to ensure freshness and potency.
How to Use Your Homemade Vitamin C Serum
Application Tips
Apply your homemade vitamin c serum after cleansing and toning but before moisturizing. Use it in the morning for antioxidant protection or at night for repair.
Patch Test
To avoid irritation, test the serum on a small patch of skin before applying it to your face.
Storage and Shelf Life
Store your serum in a dark, cool place—preferably the refrigerator—and use it within two weeks to maintain its effectiveness.
Benefits and Drawbacks of Homemade Vitamin C Serum
Benefits
- Cost-effective and customizable.
- Fresh and free of unnecessary chemicals.
Drawbacks
- Short shelf life.
- Potential for irritation if not formulated correctly.
Solutions
To minimize drawbacks, follow the recipe precisely and store your serum properly.
Common Mistakes When Making Homemade Vitamin C Serum
Using Too Much Vitamin C
Higher concentrations can irritate the skin. Stick to a 5-10% concentration for beginners.
Improper Storage
Exposure to light and air can degrade Vitamin C. Always store your serum in a dark, airtight bottle.
Skipping the Patch Test
Testing is crucial to avoid adverse reactions, especially if you have sensitive skin.
Frequently Asked Questions About Homemade Vitamin C Serum
How long does homemade vitamin c serum last?
When stored properly, it lasts up to two weeks.
Is homemade vitamin c serum safe for sensitive skin?
Yes, as long as you use a low concentration and patch test before full application.
Conclusion
Making your own homemade vitamin c serum is a rewarding and cost-effective way to improve your skincare routine. With its ability to brighten skin, reduce wrinkles, and protect against environmental damage, this DIY solution is worth trying. Follow the recipe and tips above to create a serum that’s tailored to your skin’s needs, and enjoy the glow that comes with healthy, radiant skin!