How to Remove Stripped Screws
Stripped screws can be a frustrating obstacle in any DIY project or repair job. When the screw head becomes damaged, it can be challenging to remove it without causing further issues. This article will provide you with effective methods and tools to safely and efficiently remove stripped screws.
1. Understanding Stripped Screws
A stripped screw occurs when the head of the screw becomes worn or damaged, preventing a screwdriver from gripping it properly. This can happen due to:
- Using the wrong screwdriver size or type.
- Over-tightening screws.
- Corrosion or rust.
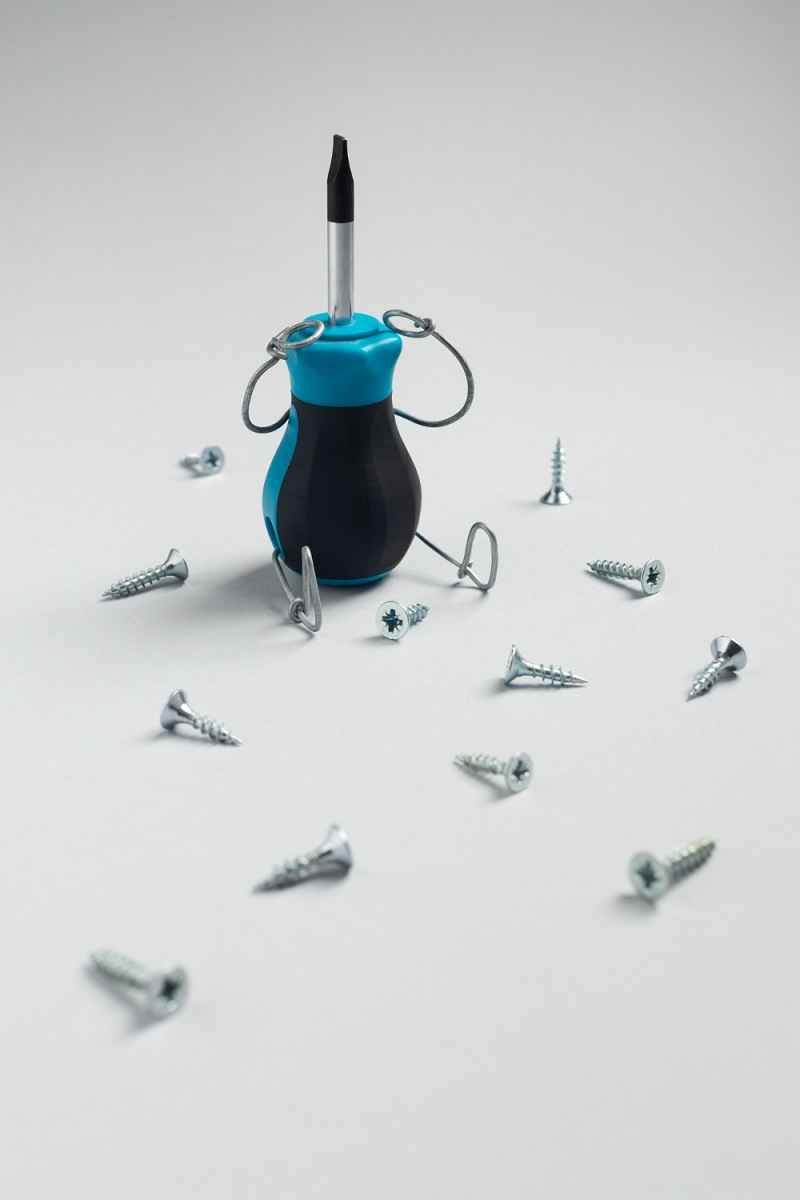
2. Essential Tools for Removing Stripped Screws
Before you begin, gather the following tools:
- Screw extractor set: A specialized tool designed for removing stripped screws.
- Rubber band: Provides extra grip when using a screwdriver.
- Pliers: Useful for gripping and turning screws.
- Drill: For drilling out the screw if necessary.
- Hammer: To tap the screwdriver or extractor in some techniques.
3. Techniques for Removing Stripped Screws
Here are several methods you can use to effectively remove stripped screws:
3.1. Using a Rubber Band
- Place a rubber band: Lay a thick rubber band over the stripped screw head.
- Insert screwdriver: Press the screwdriver firmly into the rubber band and turn counterclockwise. The added grip can help remove the screw.
3.2. Employing Pliers
- Grip the screw: If the screw head is protruding, use locking pliers (like Vise-Grips) to grip the head.
- Turn the screw: Turn the pliers counterclockwise to loosen and remove the screw.
3.3. Using a Screw Extractor
- Drill a pilot hole: If needed, drill a small hole into the center of the stripped screw.
- Insert the extractor: Choose an appropriate screw extractor and tap it into the pilot hole with a hammer.
- Turn the extractor: Use a wrench to turn the extractor counterclockwise, which should grip the screw and remove it.
3.4. Drilling Out the Screw
- Select a drill bit: Choose a bit slightly larger than the screw shaft.
- Drill carefully: Drill into the center of the screw head until it is removed. Be cautious not to damage the surrounding material.
- Remove the screw shaft: Once the head is off, you can often remove the remaining shaft with pliers.
4. Prevention Tips
To avoid stripping screws in the future, consider these tips:
- Use the correct screwdriver: Match the screwdriver type and size to the screw head.
- Apply even pressure: When tightening screws, apply consistent pressure without over-tightening.
- Check for corrosion: Regularly inspect screws for rust or damage, and replace them if necessary.
5. Conclusion
Removing stripped screws doesn’t have to be a frustrating experience. By using the right techniques and tools, you can effectively tackle this common problem. Remember to take your time, and if one method doesn’t work, don’t hesitate to try another. With practice, you’ll become adept at removing stripped screws and keeping your projects on track!
Armed with these techniques, you’re ready to handle those pesky stripped screws like a pro!
For more information, visit our website, Homethreads