
Bathroom floor tiles are designed to be durable, water-resistant, and aesthetically pleasing. However, over time, the glossy finish on your tiles can fade due to dirt buildup, harsh cleaning chemicals, and daily wear and tear. Restoring the gloss of your bathroom floor tiles not only enhances the appearance of your bathroom but also extends the life of your tiles. In this blog, we’ll walk you through a step-by-step guide to restoring the shine to your bathroom floor tiles without resorting to expensive professional services.
Why Do Bathroom Tiles Lose Their Gloss?
Before diving into the restoration process, it’s important to understand why tiles lose their shine. Common reasons include:
- Dirt and Grime Buildup: Soap scum, hard water stains, and dirt can accumulate on the surface, dulling the tile’s shine.
- Improper Cleaning Products: Harsh chemicals or abrasive cleaners can strip away the protective glaze on tiles.
- Wear and Tear: Over time, foot traffic and cleaning can wear down the tile’s surface.
- Mold and Mildew: In damp environments like bathrooms, mold and mildew can grow on grout lines and tile surfaces, making them look dull.
Step-by-Step Guide to Restoring Bathroom Floor Tile Gloss
Step 1: Gather Your Supplies
To restore the gloss on your bathroom floor tiles, you’ll need the following items:
- Mild detergent or pH-neutral tile cleaner
- White vinegar or baking soda (for natural cleaning)
- Microfiber mop or cloth
- Soft-bristle brush
- Grout cleaner (if grout is stained)
- Tile polish or sealer (optional)
- Bucket
- Warm water
Step 2: Clear the Area
Remove all bathroom rugs, mats, and any other items from the floor. This will give you full access to the tiles and ensure a thorough cleaning.
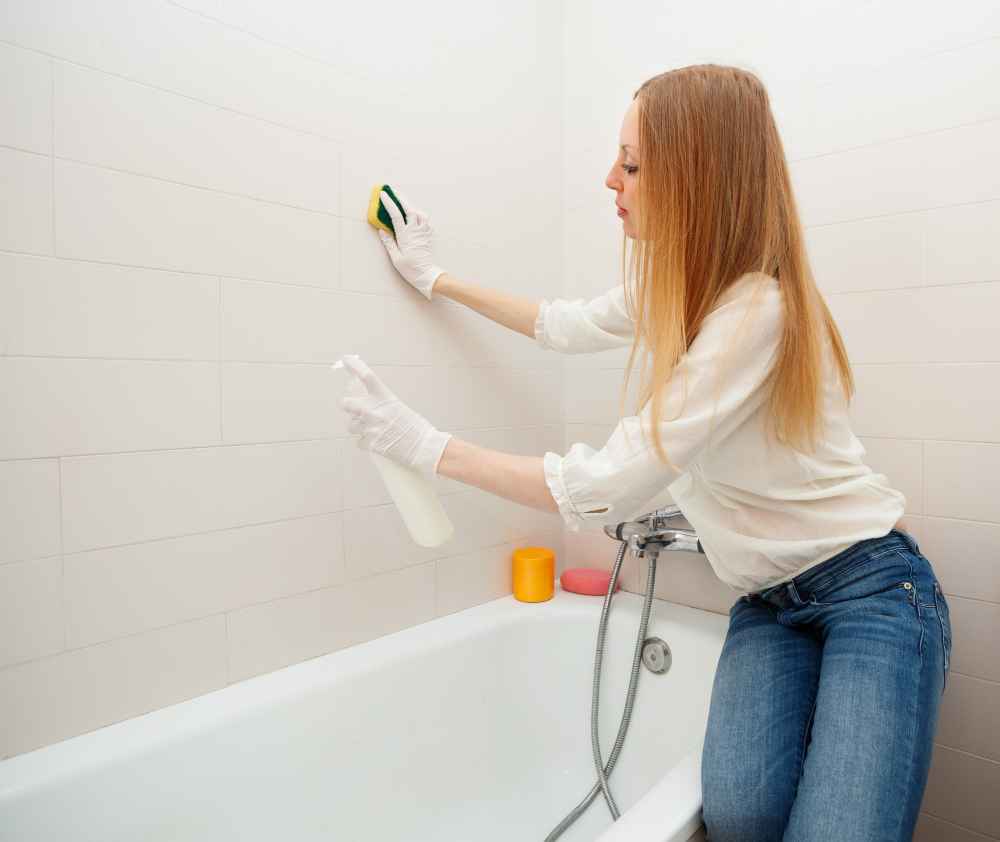
Step 3: Deep Clean the Tiles
Start by sweeping or vacuuming the floor to remove loose dirt and debris. Then, mix a mild detergent or pH-neutral tile cleaner with warm water in a bucket. Use a microfiber mop or cloth to clean the tiles thoroughly. For stubborn stains, create a paste using baking soda and water, apply it to the stained areas, and scrub gently with a soft-bristle brush.
If you prefer a natural cleaning solution, mix equal parts white vinegar and water. Vinegar is excellent for removing hard water stains and soap scum. However, avoid using vinegar on natural stone tiles, as it can damage the surface.
Step 4: Clean the Grout
Dirty grout can make even the shiniest tiles look dull. Use a grout cleaner or a mixture of baking soda and water to scrub the grout lines. For tougher stains, a toothbrush or grout brush can help you reach tight spaces. Rinse the grout thoroughly with clean water to remove any residue.
Step 5: Rinse and Dry
After cleaning, rinse the floor with clean water to remove any cleaning solution or residue. Use a clean, dry microfiber cloth to wipe the tiles and grout lines. Ensuring the floor is completely dry will prevent water spots and streaks.
Step 6: Restore the Gloss
Once the tiles are clean and dry, you can restore their gloss using a tile polish or sealer. Apply the polish according to the manufacturer’s instructions, using a soft cloth or applicator pad. Buff the tiles gently to bring out their shine. If your tiles are porous, consider using a sealer to protect them from future stains and wear.
Step 7: Maintain the Shine
To keep your bathroom floor tiles looking glossy, follow these maintenance tips:
- Clean the tiles regularly with a mild cleaner.
- Avoid using abrasive tools or harsh chemicals.
- Dry the floor after each use to prevent water spots and mold growth.
- Reapply tile polish or sealer as needed, typically every 6-12 months.
Additional Tips for Restoring Tile Gloss
- Use a Steam Cleaner: A steam cleaner can effectively remove dirt and grime without the need for chemicals, making it a great option for restoring shine.
- Polish with Olive Oil: For a quick shine, mix a few drops of olive oil with water and buff the tiles with a soft cloth. This works well for ceramic and porcelain tiles.
- Avoid Wax-Based Products: Wax can create a temporary shine but will eventually build up and dull the tiles. Stick to tile-specific polishes and sealers.
When to Call a Professional
If your tiles are severely damaged, cracked, or have lost their glaze entirely, it may be time to consult a professional. They can assess whether your tiles need refinishing, reglazing, or replacement.
Conclusion
Restoring the gloss on your bathroom floor tiles is a simple yet effective way to rejuvenate your bathroom’s appearance. By following the steps outlined above and maintaining a regular cleaning routine, you can keep your tiles looking shiny and new for years to come. Remember, prevention is key—avoid harsh chemicals and abrasive tools, and your tiles will thank you with a lasting, glossy finish.
By taking the time to care for your bathroom floor tiles, you’ll not only enhance the beauty of your space but also protect your investment in your home. Happy cleaning!
⇒ For more ideas visit our bedroom category.