
The kitchen is often considered the heart of the home, and the countertops are one of its most prominent features. If your kitchen countertops are outdated, damaged, or simply don’t match your style, replacing them can breathe new life into your space. While hiring professionals for countertop installation can be expensive, DIY kitchen countertops offer a cost-effective and rewarding alternative. With the right materials, tools, and guidance, you can create stunning countertops that reflect your personal taste and elevate your kitchen’s aesthetic.
In this guide, we’ll explore various DIY kitchen countertop options, step-by-step instructions, and tips to ensure a successful project.
Why Choose DIY Kitchen Countertops?
- Cost Savings: Professional countertop installation can cost thousands of dollars. DIY projects allow you to save significantly by eliminating labor costs.
- Customization: DIY countertops give you complete control over the design, material, and finish, ensuring your kitchen reflects your unique style.
- Satisfaction: Completing a DIY project is incredibly rewarding and adds a personal touch to your home.
- Eco-Friendly Options: Many DIY countertop materials, such as reclaimed wood or recycled glass, are sustainable and environmentally friendly.
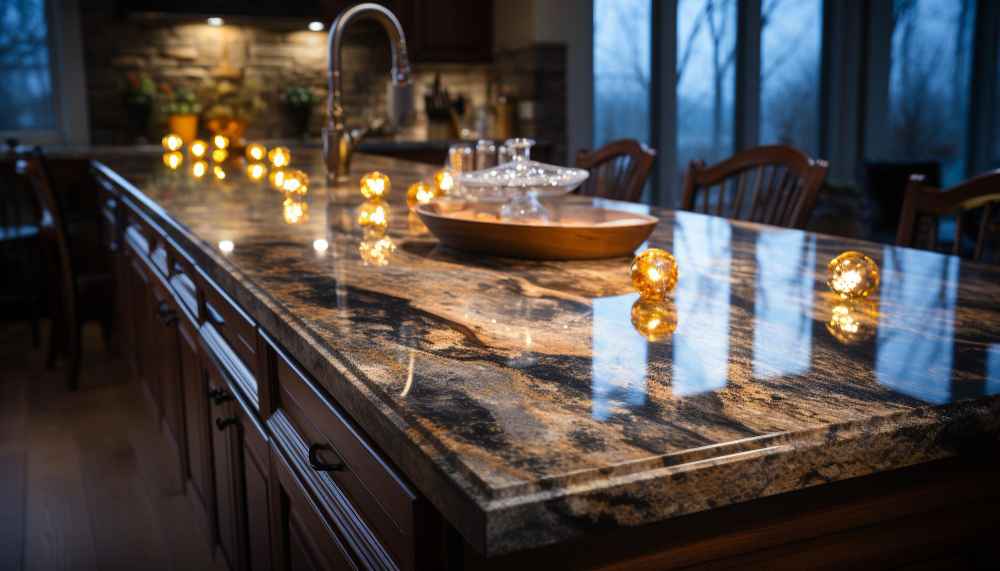
Popular DIY Kitchen Countertop Materials
Before diving into your project, it’s essential to choose the right material for your countertops. Here are some popular options:
-
Butcher Block (Wood)
- Pros: Warm, natural look; easy to cut and install; can be sanded and refinished.
- Cons: Requires regular maintenance (oiling and sealing); susceptible to scratches and water damage.
- Best For: Rustic, farmhouse, or traditional kitchens.
-
Concrete
- Pros: Durable, customizable, and modern; can be stained or stamped for unique designs.
- Cons: Heavy, requires sealing to prevent stains and cracks.
- Best For: Industrial or contemporary kitchens.
-
Laminate
- Pros: Affordable, easy to install, and available in a wide range of colors and patterns.
- Cons: Less durable than other materials; prone to scratches and burns.
- Best For: Budget-friendly projects or temporary solutions.
-
Tile
- Pros: Durable, heat-resistant, and available in endless designs.
- Cons: Grout lines can be difficult to clean; tiles may crack or chip.
- Best For: Mediterranean, Spanish, or eclectic kitchens.
-
Epoxy Resin
- Pros: Highly customizable, durable, and seamless; can mimic the look of marble or granite.
- Cons: Requires careful application; can be messy.
- Best For: Creative, artistic designs or modern kitchens.
-
Recycled Materials (Glass, Paper, or Composite)
- Pros: Eco-friendly, unique, and often budget-friendly.
- Cons: May require special tools or skills to work with.
- Best For: Eco-conscious homeowners or those seeking a one-of-a-kind look.
Step-by-Step Guide to DIY Kitchen Countertops
1. Plan and Measure
- Measure your existing countertops carefully, noting the length, width, and any cutouts for sinks or appliances.
- Sketch a layout of your kitchen, including dimensions, to help you visualize the project.
2. Choose Your Material
- Select a material that suits your budget, style, and skill level. Consider factors like durability, maintenance, and compatibility with your kitchen’s design.
3. Gather Tools and Supplies
- Common tools include a circular saw, jigsaw, drill, sander, clamps, and safety gear (gloves, goggles, etc.).
- Materials will vary depending on your chosen countertop type (e.g., wood planks, concrete mix, tiles, etc.).
4. Remove Old Countertops
- Turn off water and electricity to the kitchen.
- Carefully remove the existing countertops, starting with the sink and appliances.
- Inspect the cabinets for damage and make any necessary repairs.
5. Cut and Prepare the New Countertops
- Use your measurements to cut the new countertop material to size.
- Sand and finish the edges for a polished look.
- If using concrete or epoxy, follow the manufacturer’s instructions for mixing and pouring.
6. Install the Countertops
- Secure the new countertops to the cabinets using screws or adhesive.
- Ensure the countertops are level and properly aligned.
- Reinstall the sink and appliances, making any necessary cutouts.
7. Seal and Finish
- Apply a sealant or finish to protect your countertops from stains, scratches, and water damage.
- Allow the sealant to cure completely before using the countertops.
Tips for a Successful DIY Countertop Project
- Research Thoroughly: Watch tutorials, read guides, and consult experts to ensure you understand the process.
- Invest in Quality Tools: High-quality tools can make the job easier and produce better results.
- Take Your Time: Rushing can lead to mistakes. Work carefully and methodically.
- Safety First: Wear protective gear and follow safety guidelines when using power tools or chemicals.
- Test Your Skills: If you’re new to DIY, practice on a small project before tackling your kitchen countertops.
Conclusion
DIY kitchen countertops are an excellent way to transform your kitchen without breaking the bank. Whether you opt for the warmth of butcher block, the sleekness of concrete, or the creativity of epoxy resin, the possibilities are endless. With careful planning, the right materials, and a bit of elbow grease, you can create countertops that are both functional and beautiful.
Remember, the key to a successful DIY project is patience and preparation. Take your time, follow the steps, and don’t hesitate to seek help if needed. Your dream kitchen is within reach—roll up your sleeves and get started today!
By following this guide, you’ll not only save money but also gain the satisfaction of knowing you created something truly unique for your home. Happy DIY-ing!
Discover additional ideas in our Kitchen Styles category